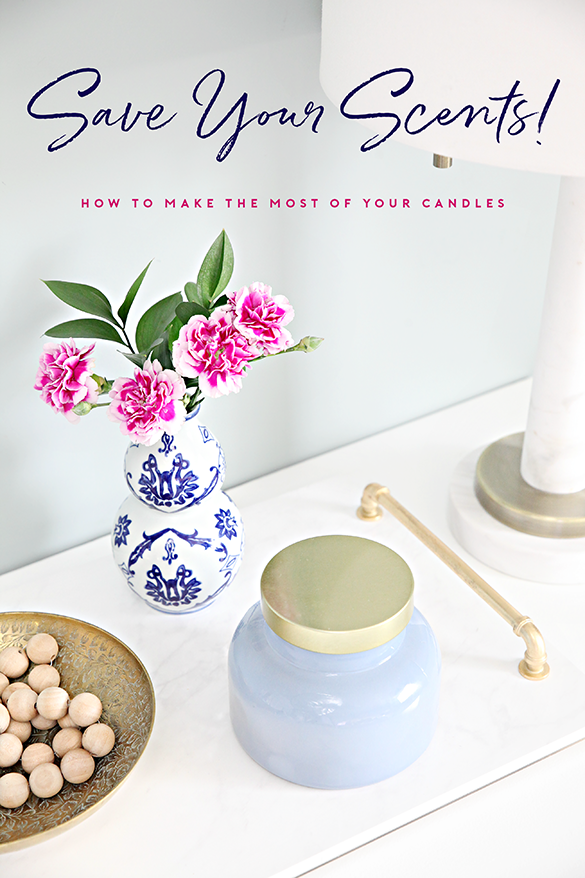
Over the years I have learned to look for candles that are not only delightful in scent, but also come in a pretty jar. The jars they come in can always be upcycled and used as vases or storage around the home. More on that in a minute...
And candles are not always cheap. I try to purchase the majority of my candles inexpensively (Marshalls/HomeGoods/TJ Maxx, Michaels, Tuesday Morning, and Target), but some of my favorite scents are typically found at Anthropologie and local boutiques. I don't mind paying a little more for a really great quality candle, but it is ridiculously frustrating when the wick burns down before all of the wax is used. I might be doing something wrong, but so often the wick will be out and 1/3 of the candle wax is still in the jar!
All of the wax has to come out from the jar before it can be reused. I have tried a few methods to remove the wax over the years and recently heard that freezing the candle was a really quick and easy way to do this. So I gave it a try...
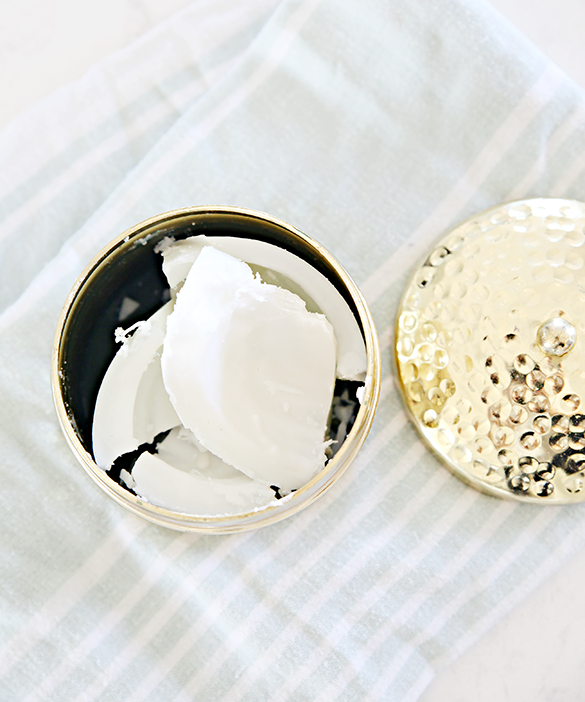
It actually worked pretty well! I left a candle in the freezer overnight and just chipped the wax out with a spoon. But look at all that wax! That seems like a lot of waste!
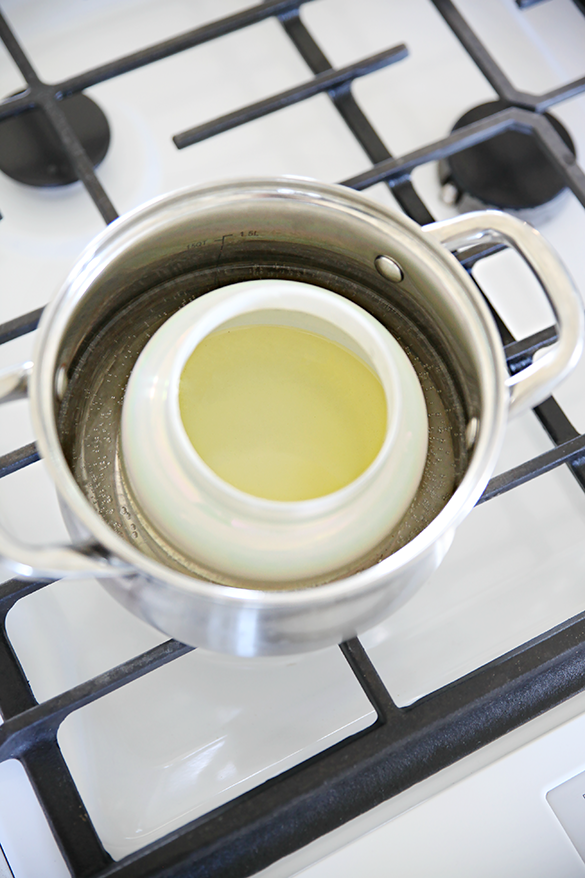
So I went back to the method that I have typically used in the past, which is to heat the candle up on the stove in a pot of water. The water doesn't have to be boiling hot, just warm enough to melt all of the wax within the holder to a liquid (I remove the wick prior to warming up the wax on the stove, but it can be done after as well).
Now to save that wax! I recently had four candles leftover from Christmas and quickly realized that there was a lot of wax remaining in each of the containers once the wick burned down completely. I use to just pour the hot wax into the trash and reuse the container... but I decided to come up with a way to stretch that wax out going forward.
Years ago I had a plug-in warmer that would heat wax as an alternative to lighting candles. They were all the rage back then, and I remember having packs of wax molds in different scents stocked in our junk drawer. So off to the craft store I went in search of some sort of mold. In the baking aisle I came across a plethora of silicone options which are typically used for candies and small treats. PERFECT!
(Don't forget that most craft stores offer great coupons/discounts on a single item purchase!)
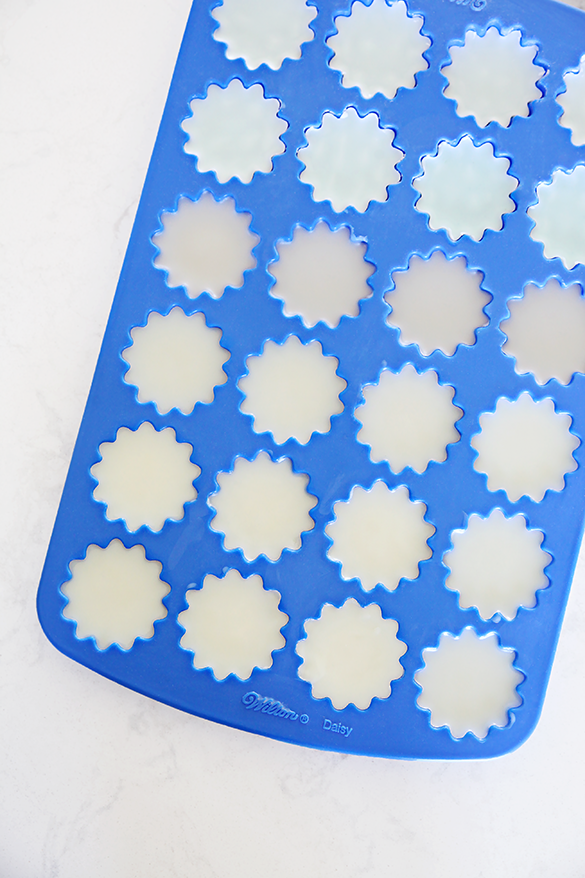
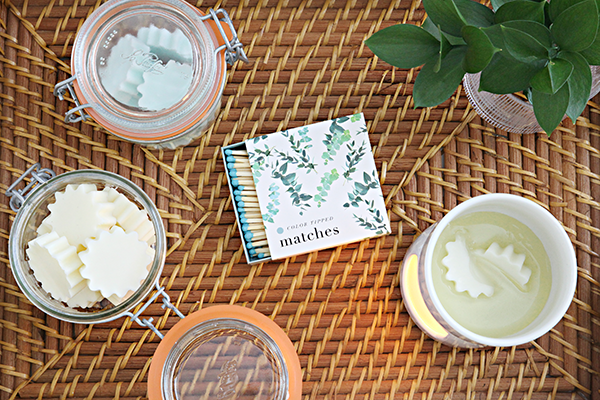
Now, when I melt the candle wax, I just pour it into my special mold! Below you can see how many wax melts I was able to create from four burned down candles. I can't get over how much wax I was able to save! (Similar mold can also be found on Amazon here.)
It only takes a few minutes for the wax to naturally harden back up, and then they just pop right out of the silicone.
Quick Tip: Pouring the wax out of the different candle holders can be a little messy, I recommend placing wax or parchment paper under the mold to catch any drips. Also, the candle holders can be really hot from the melting process, so use caution!! I found wearing a winter glove gave me control to pour without burning my fingers.
Right after the wax is poured, I grab a paper towel to clean out the rest of the contents of the jar and quickly wash with hot water and dish soap.
The different candles were a variety of scents so I store the wax molds seperately in canning jars, back into their original vessel, or in these wax sandwich pouches until I am ready to melt them in the warmer.
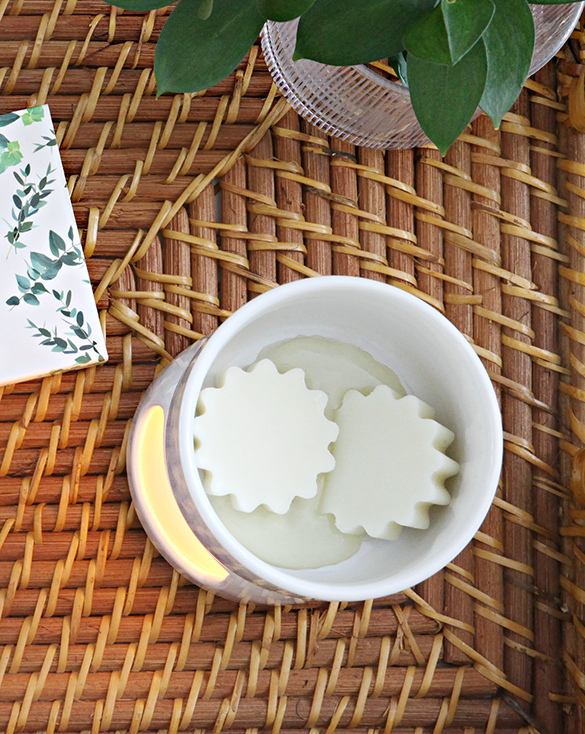
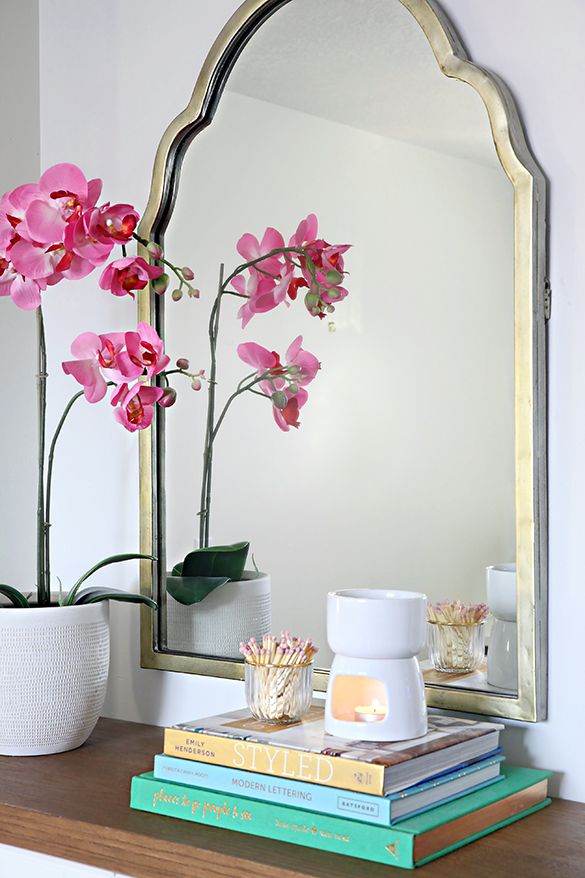
I noticed that they still sell plug-in candle/wax warmers at many home and craft stores, although, I prefer something a bit more discreet and mobile, so I just use a basic butter warmer for now. It was less expensive and I can move it around my home without plugging it in. It may seem like a bit of an odd choice, but I sort of love it. And YAY for extending the life of my favorite candles scents, I can't believe I was going to dump all of that wax away!
Now that the wax is out of the holders, here are a variety of ways to reuse all of those pretty vessels around the house.
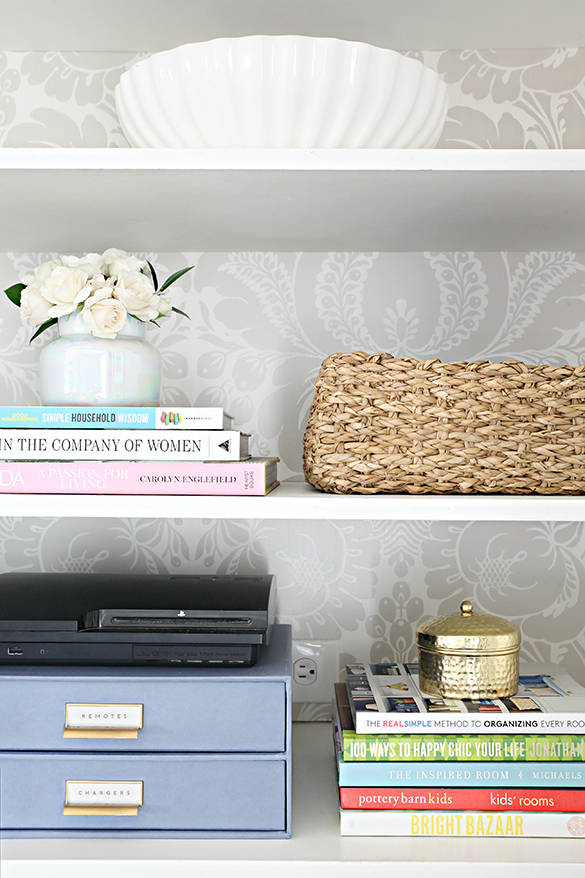
Above I placed two on our bookshelves! One is working as a vase while the other tucks away a dice game that our family enjoys playing.
Quick Tip: This gold hammered candle is a true bargain, especially considering the container itself is so fantastic (especially if you line the bottom with a piece of felt).
I find candle holders are most useful in the bathroom. Above you can see one being used for holding cotton swabs, but they also work as toothbrush holders, floss pick holders, hairbrush and comb holders, etc...
Another bathroom scenario, hair ties and bobby pins are hidden away while keeping the nearby counter clutter free!
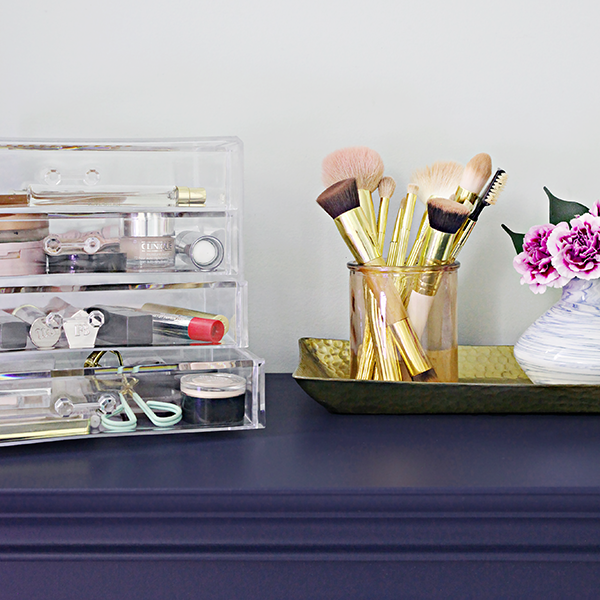
One of the first candle holders that I ever upcycled was used for makeup brushes, and they were the perfect match!
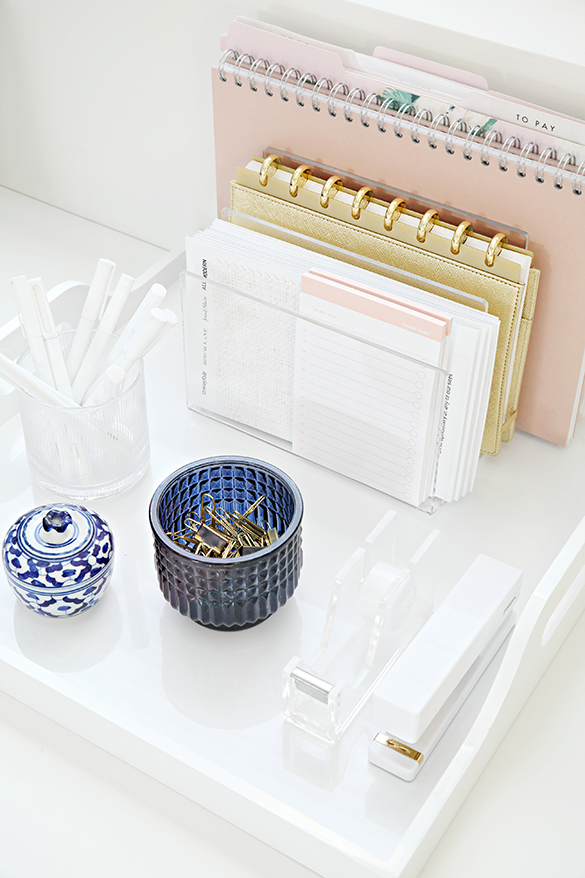
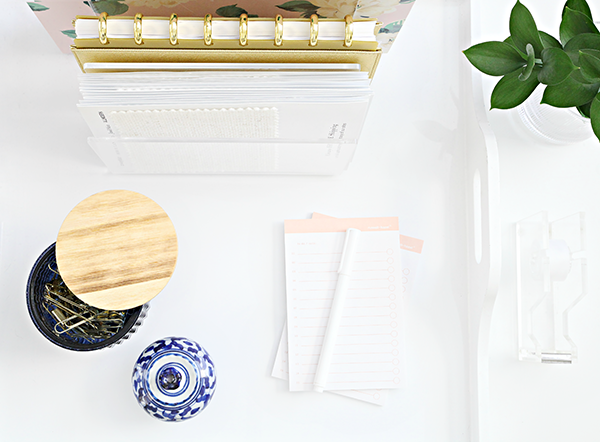
Let's talk office supply storage for a second! Candle vessels are perfect for corralling paperclips, rubber bands, washi tape, small craft supplies, pushpins, charger cords... The possibilities are pretty endless.
It is always a bonus when the holder has a nice lid to really hide the contents and to act as a true container.
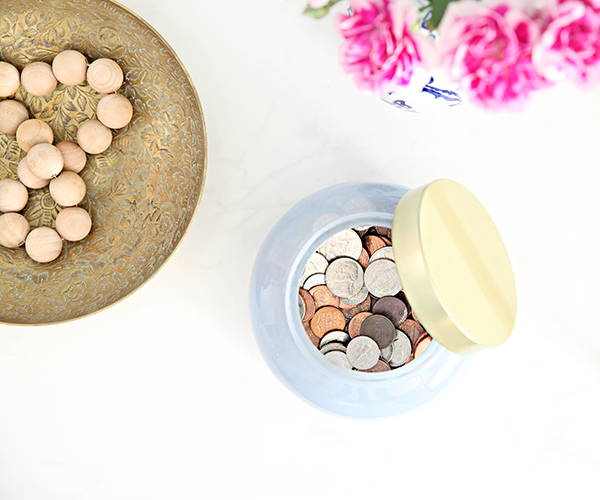
In the bedroom on a nightstand or dresser, candle jars are wonderful as a change jar or jewelry holder. Or toss your lip balm, medication, hand lotion, earplugs, etc... inside and keep your bedside table nice and tidy.
How about in the laundry room? They work well to keep track of pocket treasures, clothespins, safety pins, and buttons.
__________
That's how I use these charming candle vessels around our home, but I bet you all could come up with even more creative examples. I know that this isn't a new fad, but it's always a great reminder to upcycle and reuse when we can.
One last quick thing! I recently found these candle warmers, but can't personally speak to how well they work. I imagine that they actually melt the wax of a candle more evenly and allow you to use the entire candle without lighting the wick at all (or needing to make molds). That would definitely be another great way to get the most of the candle before reusing the jar. Just wanted to try and offer up all of the options I can find.
And it goes without saying but I will anyway, it is always important to be careful with candles in general. Both plug-in options and the use of any flame should always remain monitored. ♥




I thought I was the only one. I’ve been doing this exact thing for years - I’m too cheap to buy all those smells and I LOVE my mahogany teakwood and bergmont waters! I even use them around the house the exact same way too! Great minds ...
ReplyDeleteGreat tips! I love the idea of using up the leftover wax. Thanks!
ReplyDeleteSome really lovely, clever ideas here. I hate the waste you can get with these type of candles, too! Xx
ReplyDeleteJen, I’ve been following your blog for years and have never felt such a strong pull to comment. Candles are my jam!! In fact, a couple years ago I started a side gig as an independent consultant for PartyLite candles. The problems you’re describing with wasted wax used to drive me nuts. Pattylite’s candles are a soy and paraffin blend that melt all the way to within an eighth of an inch from the bottom of the jar and the essential oil fragrance needs the same from first light to last. I’d love for you to check them out; I think you’ll love them!
ReplyDeleteI love the idea of using the butter warmer, so simple and easy. I could never get behind the plug-ins - they seemed so cumbersome and ungainly. Also, I love the concept of considering the vessel when purchasing a candle. I'm trying to be more intentional about my purchases this year and that falls right in line with that. XO
ReplyDeleteHi Jen - I am so happy to see you back blogging... you always have the best ideas that are stylish, doable and affordable. :-) I can vouch for the plug-in wax warmers. I bought one at Nest Fest in the fall. It works perfectly.
ReplyDeleteDitto Diane! 🥰 Thank you!!
DeleteAnother way to use up the wax while it's in its original container is to warm the wax, pull out what is left of the wick, then when it has cooled just a bit, put in a birthday candle as a new wick, and let it harden. If you use the candles with a bit of heft (vs. the really thin ones), you should have a good wick to keep on burning the wax.
ReplyDeleteNow that sounds like a really smart life hack! Thanks for sharing!
DeleteI never thought of doing this. I've just been melting the wax in the jar and adding a new wick.
ReplyDeleteI'm convinced, you could make a tin can look gorgeous!! ❤🌞🌿🏵🌺🌸 love it!
ReplyDeleteYou know I would at least try!! 😂 Thank you so much Amy! 💓
DeleteSomething interesting I heard recently at a local candle shop! To extend the life of your candle and use up as much wax as you can, make sure you're allowing the candle to burn long enough to have a full layer of melted wax before you blow it out. If there are solid ridges of wax left around the edge, the candle will "tunnel" and never burn the stuff on the sides, and you're left with a bunch of unused, wasted wax. That of course doesn't help if the wick doesn't go all the way to the bottom of the candle, but since I've been doing this, I've wasted very little wax from my candles! I hope it helps. :)
ReplyDeleteGreat tips! But I can let you know what the secrets to candles are. You have to let it burn until it is liquid all the way to the glass (the whole top layer). Whatever you burn it to and then blow it out, that's where your candle will burn to next no matter how long you burn it. It will keep going down, and not wide. So, you have to burn to the whole edge (liquid touches container) and THEN you can blow it out. Every time. If you do that, then your candle will burn down 100% wax used. So you've got to be committed to a time frame when you light a candle.
ReplyDeleteYou two are blowing my mind! Thank you so much for the tips and insight! I will definitely try to do that more often. I always thought that the vessel was just too wide. Who knew candles needed to come with instructions. 😉
Deletewhere could I get those white pens?!
ReplyDeleteHi Cristina,
DeleteThe pens are Poppin, definitely one of my favorite office supply brands. 💓
http://bit.ly/2DAsTxI
Jen
If you have a lot of candles that are unscented or that you're meh about the scent, you can use them to make firestarters for a campfire. Melt as you've described, then pour the wax into cardboard eggcartons. Add a little sawdust (you can use hamster bedding if you don't have sawdust around) or dryer lint. When the wax is cooled, cut apart the 12 cups and store with your camping gear. ;-)
ReplyDeleteGreat tip, thank you so much Nicola!
DeleteI've been a reader for a couple of years but have never commented. I love this direction you're taking with your blog. You show that re-use can be so stylish!
ReplyDeleteThank you, Heather! I hope to do a lot more of that, because I have always been a believer that many items can be both useful and decorative at the same time. I LOVE it!
DeleteWhat terrific ideas!! I've been wasting the wax and containers for years. I'm so inspired!!
ReplyDeleteLovely tip Jennifer. You are finding your mojo again. Remember that tips like these keep readers just as inspired and energetic as your "whole room" make-overs.
ReplyDeleteI just went back and read the 2018 and 2019 beginning of year entry. As you have inspired me over the years, let me keep you going this year. I am going to share my whole life philosophy with you, it is by the poet William Blake: 'I will not reason and compare: my business is to create'.
Stay true to yourself. We followed your blog because you are real, beautiful and flawed. It spoke to us. This is your place to create, in whatever form. To quote you now: This blog is my happy place, let's keep the drama at bay! xoxox lol
OMG this is such a good idea and wow that would have been a huge waste of wax! good you had a way to salvage it!
ReplyDeleteLoved this post! So many useful tips xx
ReplyDeletewww.thelisasworld.com
Where did you get that beautiful mirror?! 😍
ReplyDeleteHi Kristin!
DeleteYou can find the mirror here: https://rstyle.me/~cz-a7G9U
I really love it! 💓
Another thing you can do is just replace the wick. Candle wicks are pretty cheep to buy at craft stores or online. Just heat the wax using the water method you have here and stick in the new wick, let it dry, and then trip. Wa-la! New candle. If the wax isn't high enough you can combine the wax from two half used candles of complimentary scents.
ReplyDeleteGreat idea! Are you burning your candles long enough each time you burn them? I think there is a general rule of 1 hour per inch in diameter to make the wax melt evenly. That’s all I got!
ReplyDeleteI love your idea to use the wax until its gone! How is the butter warmer working out? I love the idea of mobility and not having to plug it in.
ReplyDeleteI like it, I find that the wax forms have been melting nice and evenly and lasting for a good amount of time. Dollar store tea-lights work well (that's where I typically pick mine up), but I only get a couple hours out of one at a single time. I might look into the long-burning options, but otherwise, I sort of love the little hack. :)
DeleteLove this. I tend to use craft shop wicks and wick-grips to make up new candles from the remains. However one does it though, I like the lack of waste.
ReplyDeleteSO many great ideas for using candle containers! I use the empty 3wick glass jars from Bath & Body Works to hold thread and buttons, or candies at work. I've also seen them with small animal figurines glued to the lid and spray painted. Fun idea for kids treasures!
ReplyDeleteLOVE the color tipped matches - but I don't seem them for sale online ... wondering where you found yours?
Thanks! Samantha
Thank you, Samantha! I found the colored matches at Target during the holidays. They seem to be a seasonal thing, hopefully they release some new colors for spring. :)
DeleteThis is so so smart Jen! I have SO MANY candles that I buy because the vessels are beautiful but then never use them after I burn the candle. This is perfect and I cant wait to do this!
ReplyDeleteI've found while using the warmers (mug warmer) that because the candles melt from the bottom up, the scent leaves the wax completely long before the wax is used up. Is that my imagination (because I'm "used to" the scent)?
ReplyDeleteI agree!!
DeleteSuch a unique post! Thanks for all the tips! Excited to see more articles from you in the future!
ReplyDeleteWow...this is amazing! I just discovered your blog and this tip! Just now I put my favorite candle and an electric mason jar warmer in my Amazon cart! I'm not much of a candle person, but I do love all the different jars and containers that candles come in. I think now, I'll look for containers I love and give the molded wax away as gifts!
ReplyDeleteTo get your candles to burn evenly I've always followed the rule you should burn it one hour for every inch of its diameter. It's not letting it burn long enough that causes tunneling.
ReplyDeleteLearned so much! Will apply all these ideass to my Candles. You answered all the questions I had and all the questions I didn't know I had. Thank you! ☺💓🕯
ReplyDeleteGreat ideas! Thank you for sharing them. Plus, your pics are lovely. :) <3
ReplyDeleteI love this post! I love burning candles too and nebr look forward to getting rid of them once they've burned down.
ReplyDeleteI love that you repurpose the wax and the container.
The jar you used for the makeup brushes is so pretty and as you said, a great match.
I'm going to bookmark this post to share with my readers. xo
Love all the ideas for using containers. I have also glued a candlestick to the bottom for a height variation.
ReplyDeleteWhat a great idea!
ReplyDeleteSaved as a favorite, I love your web site!
ReplyDeleteI love that you use a butter warmer. I agree about the portability and simplicity of it; plus that butter warmer in your picture is so pretty. I have several candles that are starting to pile-up,because I do not have a plan on how to use them. But now I do!! Thank you so much this system that you have created.
ReplyDeleteI love projects like that make old trash into new fabulous products:)
ReplyDelete